ASP.NET Core: Logs (Part 3)

Today we’ll discuss a quite convenient tool for logging called Seq. It’s the last post about logging in ASP.NET Core application.
Seq was developed especially for logging, and it does its work great. It’s not free in general, but you can use it in your pet-projects by free as individual developer.
This is the script for starting Seq in a container.
docker run \
  -d \
  --restart unless-stopped \
  --name seq \
  -e ACCEPT_EULA=Y \
  -v $HOST_PATH_TO_SEQ:/data \
  -p $HOST_HTTP_PORT:80 \
datalust/seq:latest
Logging from the ASP.NET Core
Logging to the Seq is able by Seq.Extensions.Logging nuget package. So, you need to add these lines and some configs.
services.AddLogging(loggingBuilder =>
{
    loggingBuilder.AddSeq();
});
I don’t want to dive deeply into this here, because we were using a different approach in the previous posts, but you can read more details in the repository.
Logging with Serilog
As you probably guessed, Serilog also allows us to log into Seq. We can do it by installing Serilog.Sinks.Seq package and modifying the config file.
"Serilog": {
  "MinimumLevel": {
    "Default": "Information"
  },
  "WriteTo": [
    {
      "Name": "Seq",
      "Args": {
        "serverUrl": "http://seq:5341"
      }
    }
  ]
}
With Serilog you can change your log storage without any modification in the code, it’s wonderful.
Fluentd doesn’t have a plugin for the Seq (we discussed such plugin for ELK), so we will send our logs directly. Start your application along with Seq.
version: '3.4'

services:
  api:
    container_name: api
    build: .
    ports:
      - "8000:80"
    depends_on:
      - seq

  seq:
    container_name: seq
    image: datalust/seq
    ports:
      - "8001:80"
    environment:
      ACCEPT_EULA: Y
And now you can see the result in the Seq UI.
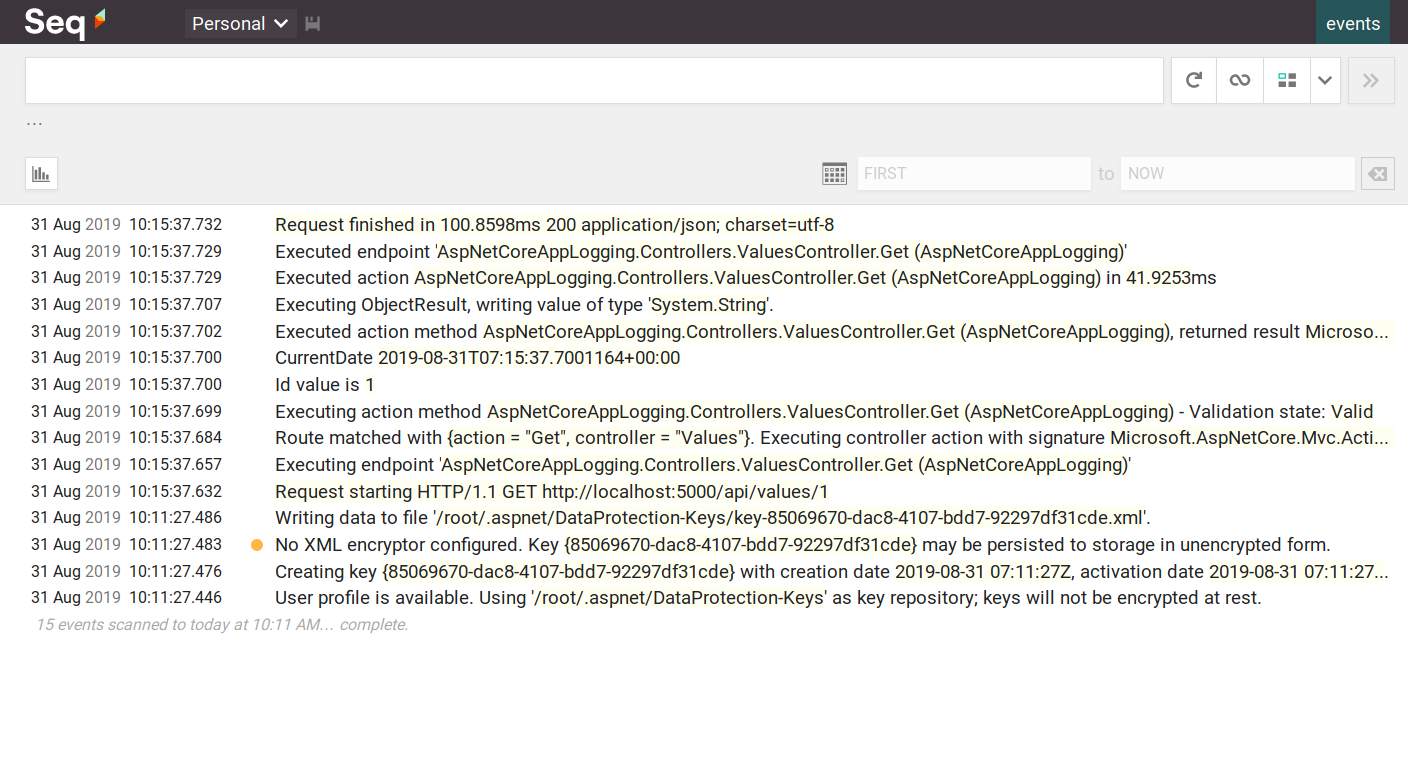
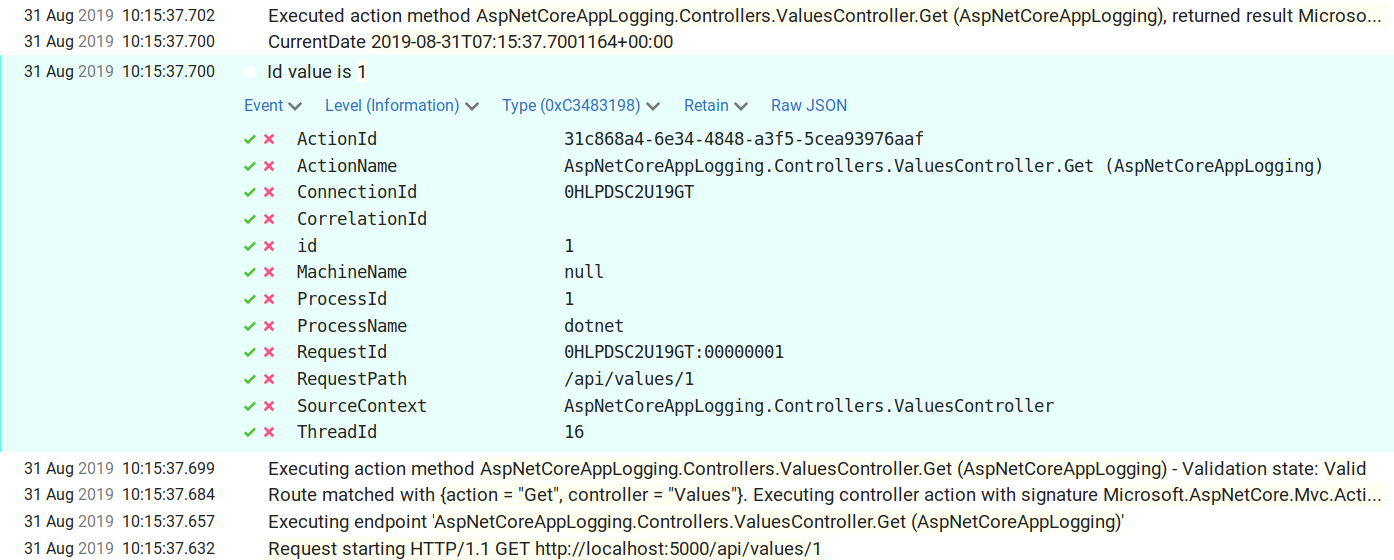
All parameters of our query were saved, and you can easily search by them.
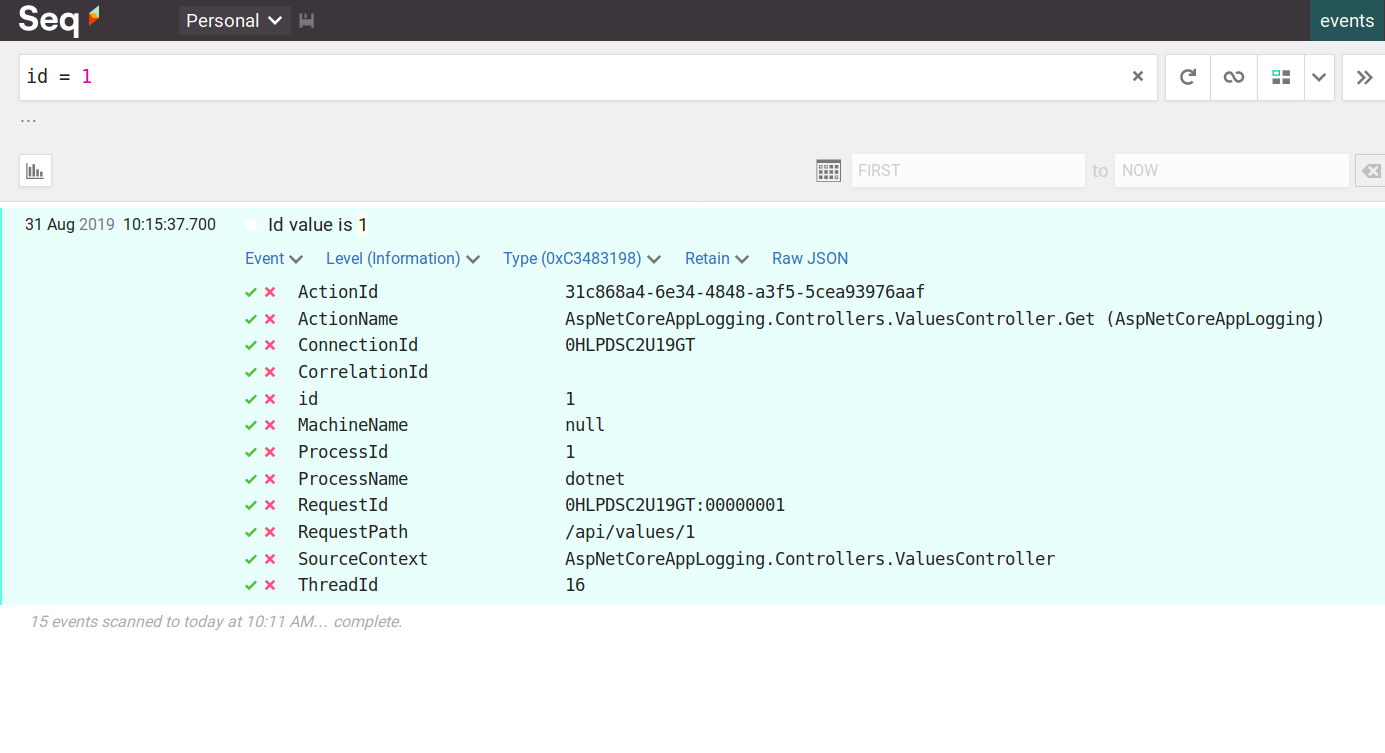
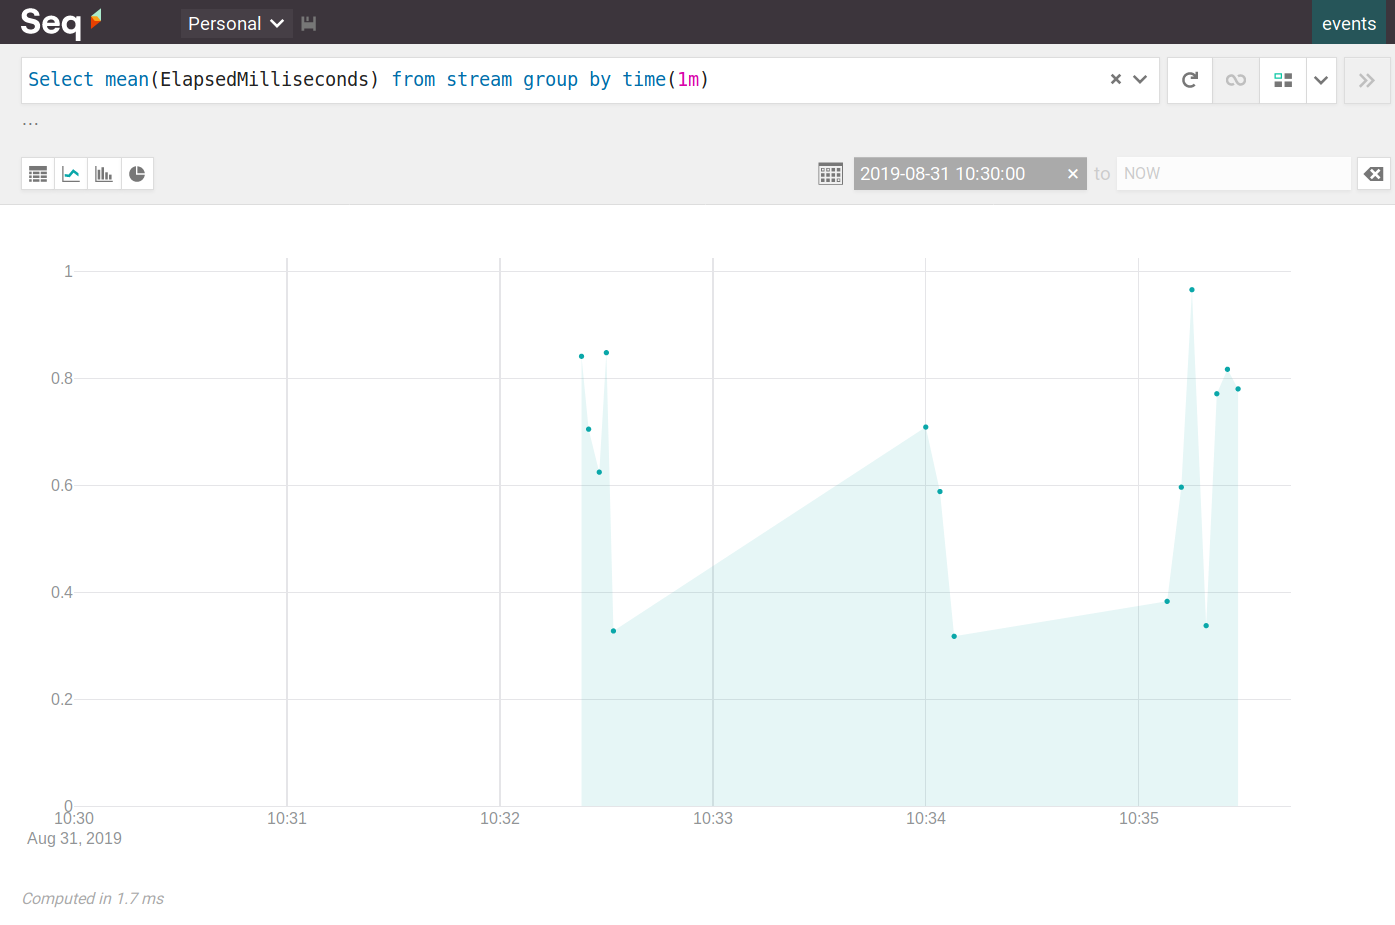
It’s a remarkably powerful tool, all its capabilities you can find in the documentation.
Dynamic logging level
Another great feature of SEQ is a dynamic log level control. In some situations, you don’t want to collect detailed logs all the time because they take a lot of space. But when you’re testing some scenario, you may want as mush logs as it may be. You can change the log level with this feature for a small period and then return it.
Make some changes in the config file.
{
  "Serilog": {
    "LevelSwitches": { "$controlSwitch": "Information" },
    "MinimumLevel": { "ControlledBy": "$controlSwitch" },
    "WriteTo": [
      { "Name": "Seq", "Args": {
        "serverUrl": "http://seq:5341",
        "apiKey": "9fs9V80bjlkgau9adsjH",
        "controlLevelSwitch": "$controlSwitch"
      }}
    ],
    "Enrich": [ "WithThreadId", "WithThreadName", "WithProcessId", "WithProcessName", "WithMachineName", "WithEnvironmentUserName", "WithExceptionDetails" ]
  },
  "AllowedHosts": "*"
}
After that, go to the section Settings -> API Keys and create a new one. You need to paste the same API key value in the Token field as you specify in your config file.
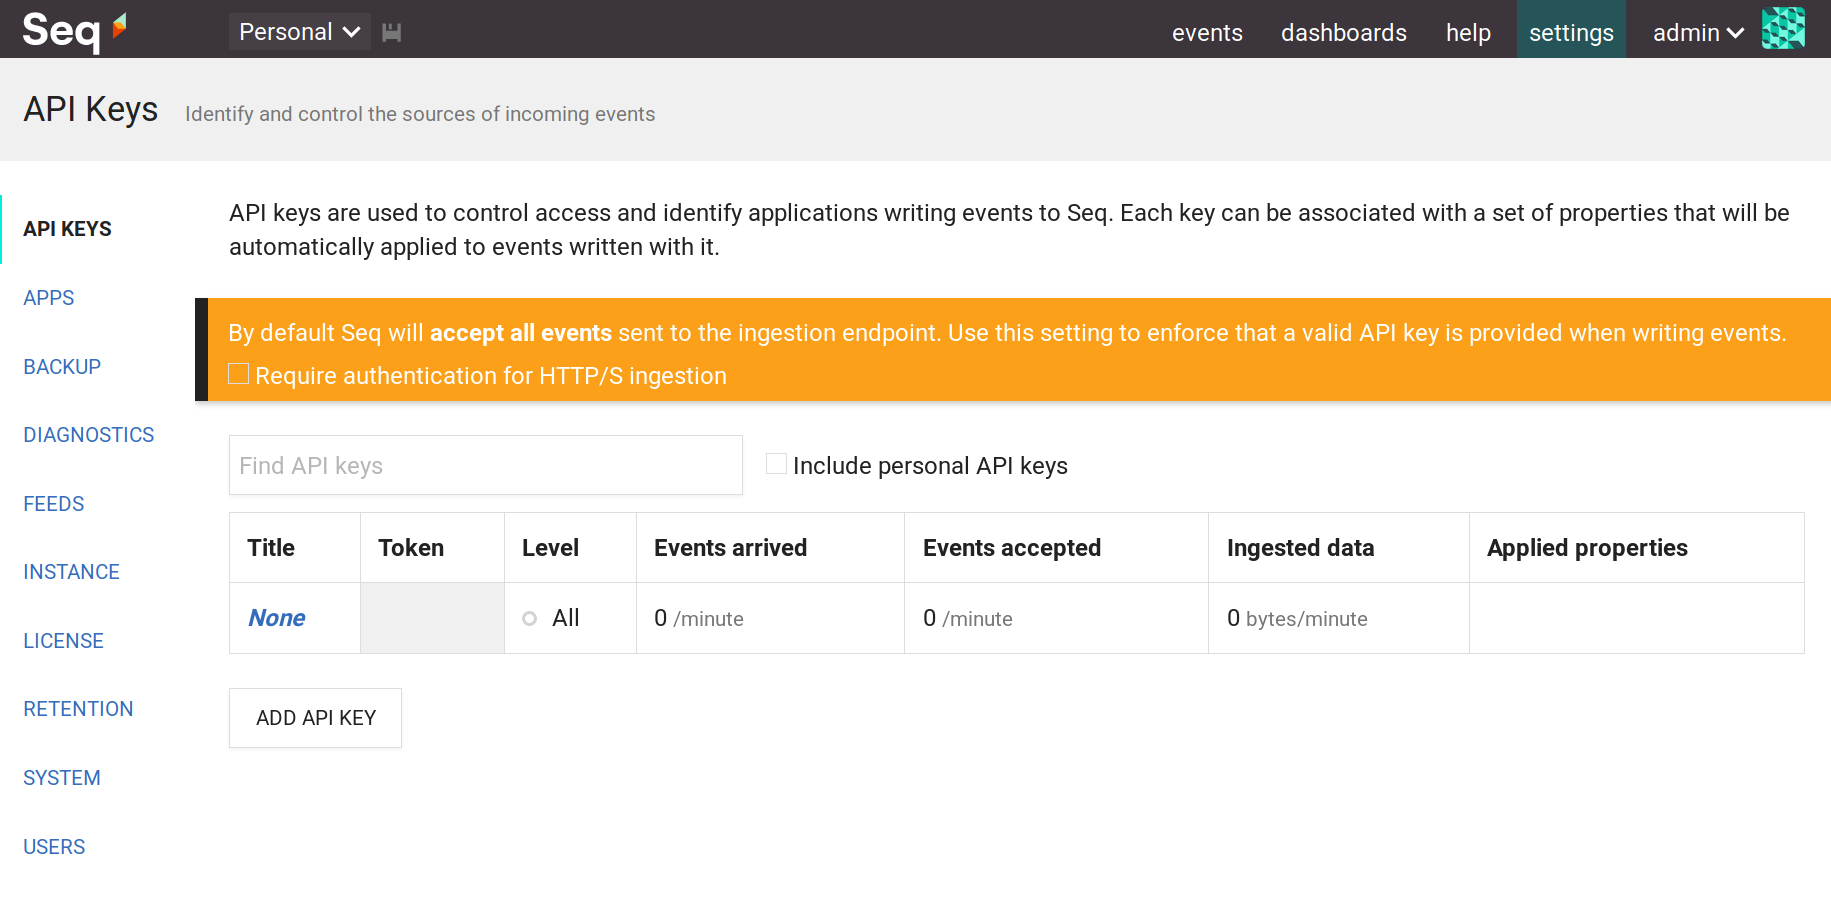
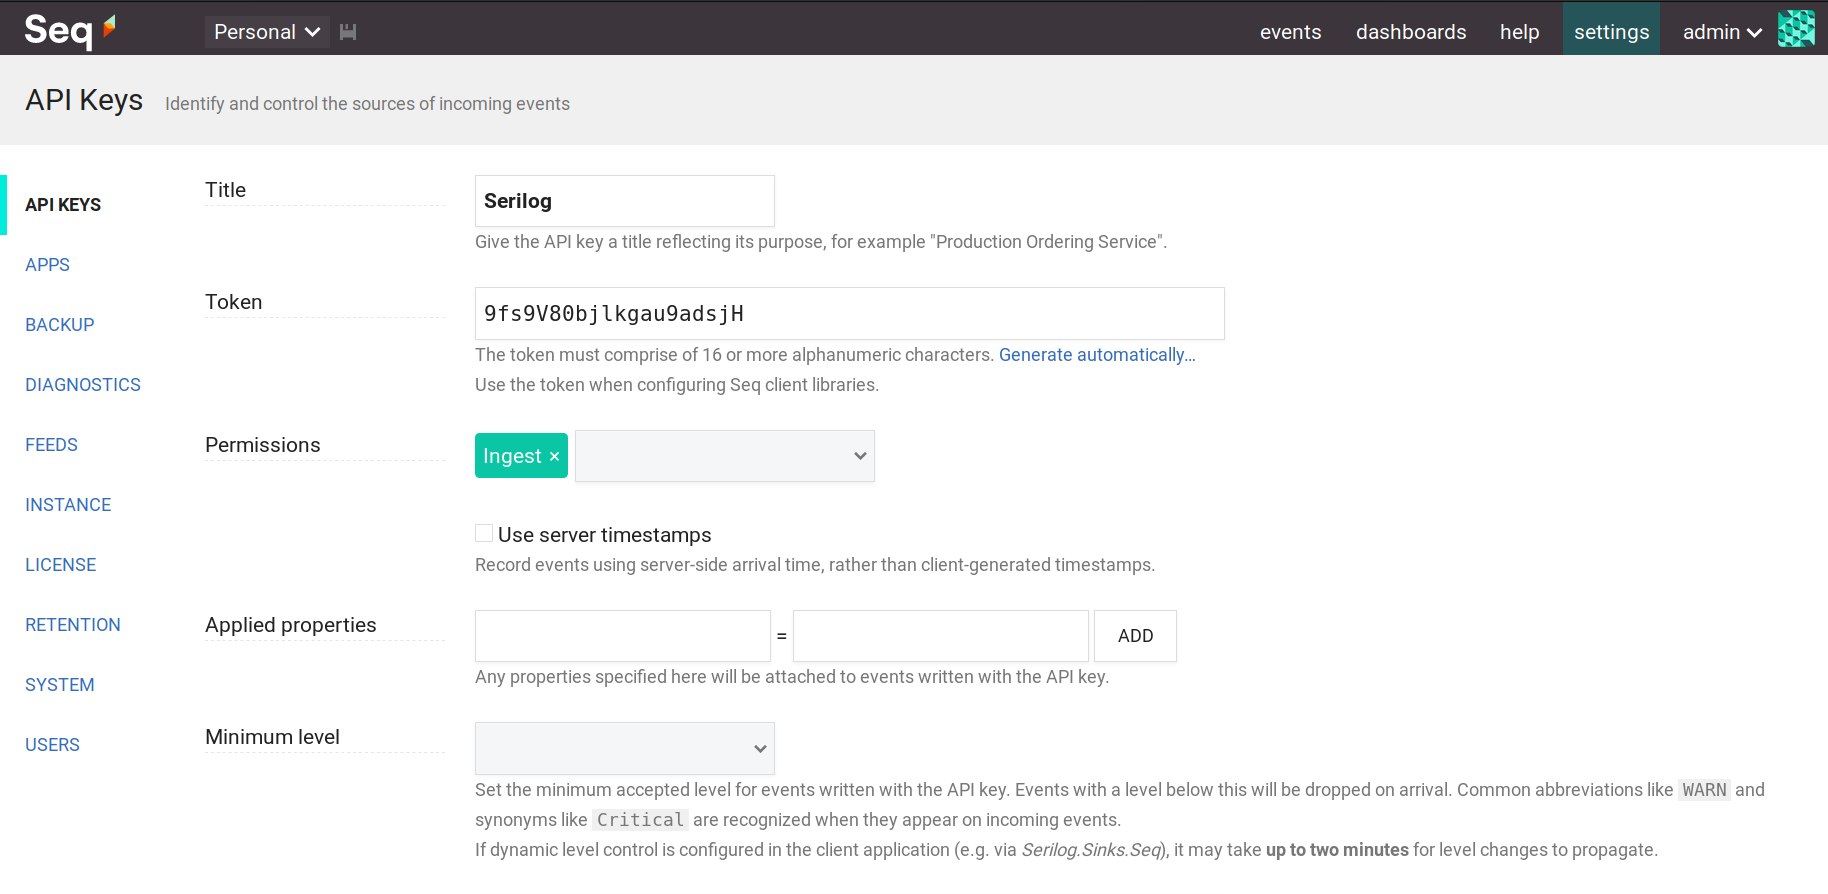
Now you can control your logging level through the switching values in the Minimum level field of the API key.
Environment in logging
It is the last theme, I want to discuss in the logging context. Most often you don’t need to start complex log storage when you’re debugging an application locally. Console logging is enough for you. There are environment variables for different behaviour in different contexts. They have more widespread use than just logging configuration, and you can read more information in the docs.
Actually, everything is ready for us. You just need to create a new config file (appsettings.Development.json), rename the old one (appsettings.Docker.json) and add environment variables to the docker-compose script and launch settings. I use Development environment variable for local and Docker for containers. That’s all, now you have different logging behaviour.
{
  "Serilog": {
    "MinimumLevel": {
      "Default": "Information"
    },
    "WriteTo": [
      { "Name": "Console" }
    ]
  }
}
{
  "Serilog": {
    "MinimumLevel": {
      "Default": "Information"
    },
    "WriteTo": [
      { "Name": "Seq", "Args": { "serverUrl": "http://seq:5341" }}
    ],
    "Enrich": [ "WithThreadId", "WithThreadName", "WithProcessId", "WithProcessName", "WithMachineName", "WithEnvironmentUserName", "WithExceptionDetails" ]
  },
  "AllowedHosts": "*"
}
version: '3.4'

services:
  api:
    container_name: api
    build: .
    ports:
      - "5000:80"
    environment:
      ASPNETCORE_ENVIRONMENT: Docker
    depends_on:
      - seq

  seq:
    container_name: seq
    image: datalust/seq
    ports:
      - "8000:80"
    environment:
      ACCEPT_EULA: Y
{
  "$schema": "http://json.schemastore.org/launchsettings.json",
  "iisSettings": {
    "windowsAuthentication": false,
    "anonymousAuthentication": true,
    "iisExpress": {
      "applicationUrl": "http://localhost:38492",
      "sslPort": 44316
    }
  },
  "profiles": {
    "AspNetCoreAppLogging": {
      "commandName": "Project",
      "launchBrowser": false,
      "applicationUrl": "http://localhost:5000",
      "environmentVariables": {
        "ASPNETCORE_ENVIRONMENT": "Development"
      }
    }
  }
}
Conclusion
Today we were talking about another tool for logging called Seq and using different logging approaches in different situations. With this article, I finish my cycle about logging in ASP.NET Core applications. All examples you can find in this repository in appropriate branches (master, elk, seq).
Image: Photo by Stephan Seeber on Unsplash
Comments